今回は、知らないと難しい、Avalonia UIで画像を使ったボタンを作成していきます。
前置きはさっさと飛ばして、本題に入りましょう。
前提条件 見出しへのリンク
- もう既にAvaloniaのプロジェクトを作っていること。
- ボタンにする画像を選んでいること。
画像の準備 見出しへのリンク
私は3枚の画像を選びました。通常の見た目と、Hover時の見た目と、Click時の見た目です。1枚で全ての場合をやってもいいんですが、Userが見た目からボタンとして認識してくれない危険性があるので推奨はしません。
画像はAssetsフォルダに入れます。
もし、Assetsフォルダがない!という場合は、Assetsフォルダを作ってから、プロジェクトファイルに
<ItemGroup>
  <AvaloniaResource Include="Assets\*"/>
</ItemGroup>
と追記してください。
UserControlを作る 見出しへのリンク
先ずは、UserControlを作成しましょう。名前は適宜読み替えてください。
[Visual Studio]
- Right click your project’s Views folder in Solution Explorer
- Select the Add -> New Item menu item
- In the dialog that appears, navigate to the “Avalonia” section in the category tree
- Select “User Control (Avalonia)”
- Enter TodoListView as the “Name”
- Click the “Add” button
[.NET Core]
dotnet new avalonia.usercontrol -o Views -n TodoListView --namespace Todo.Views
作成するとこんな感じになると思います。
<UserControl xmlns="https://github.com/avaloniaui"
    	xmlns:x="http://schemas.microsoft.com/winfx/2006/xaml"
    	xmlns:d="http://schemas.microsoft.com/expression/blend/2008"
    	xmlns:mc="http://schemas.openxmlformats.org/markup-compatibility/2006"
    	mc:Ignorable="d" d:DesignWidth="800" d:DesignHeight="450"
    	x:Class="Hoge.Views.ImageButton">
    <StackPanel>
        Hello World
    </StackPanel>
</UserControl>
Hello Worldの部分にコードを書いていく形になります。
ボタンを作り、Styleを追加 見出しへのリンク
HTML+CSSでデザインをしたことのある人ならわかりやすいと思いますが、
Avaloniaの魅力として、エレメントと別にデザインを記述することが出来る事があります。
ボタンを作成して、ボタンのStyleを作成します。以下のような感じです。
<UserControl xmlns="https://github.com/avaloniaui"
    	xmlns:x="http://schemas.microsoft.com/winfx/2006/xaml"
    	xmlns:d="http://schemas.microsoft.com/expression/blend/2008"
    	xmlns:mc="http://schemas.openxmlformats.org/markup-compatibility/2006"
    	mc:Ignorable="d" d:DesignWidth="800" d:DesignHeight="450"
    	x:Class="AvaloniaTest.Views.MainContents">
    <StackPanel>
        <StackPanel.Styles>
            <Style Selector="Button.ImageButton">
                <!-- ここにStyleを記述 -->
            </Style>
        </StackPanel.Styles>
        <Button Classes="ImageButton">Click me</Button>
    </StackPanel>
</UserControl>
ボタンに画像を適用する 見出しへのリンク
ボタンの背景として画像を適用します。画像を描く事が出来るImageBrushを使用して実現しています。
<UserControl xmlns="https://github.com/avaloniaui"
    	xmlns:x="http://schemas.microsoft.com/winfx/2006/xaml"
    	xmlns:d="http://schemas.microsoft.com/expression/blend/2008"
    	xmlns:mc="http://schemas.openxmlformats.org/markup-compatibility/2006"
    	mc:Ignorable="d" d:DesignWidth="800" d:DesignHeight="450"
    	x:Class="AvaloniaTest.Views.MainContents">
    <StackPanel>
        <StackPanel.Styles>
            <Style Selector="Button.ImageButton">
                <!-- 見やすいようにデザイン(お好みで変更してください) -->
                <Setter Property="FontSize" Value="30" />
                <Setter Property="Width" Value="400" />
                <Setter Property="Height" Value="100" />

                <!-- ボタンの背景として適用 -->
                <Setter Property="Background">
					<Setter.Value>
                        <!-- avares://[プロジェクトの名前]/Assets/ファイル名 -->
						<ImageBrush Source="avares://AvaloniaTest/Assets/ButtonBar.png" />
					</Setter.Value>
				</Setter>
            </Style>
        </StackPanel.Styles>
        <Button Classes="ImageButton">Click me</Button>
    </StackPanel>
</UserControl>
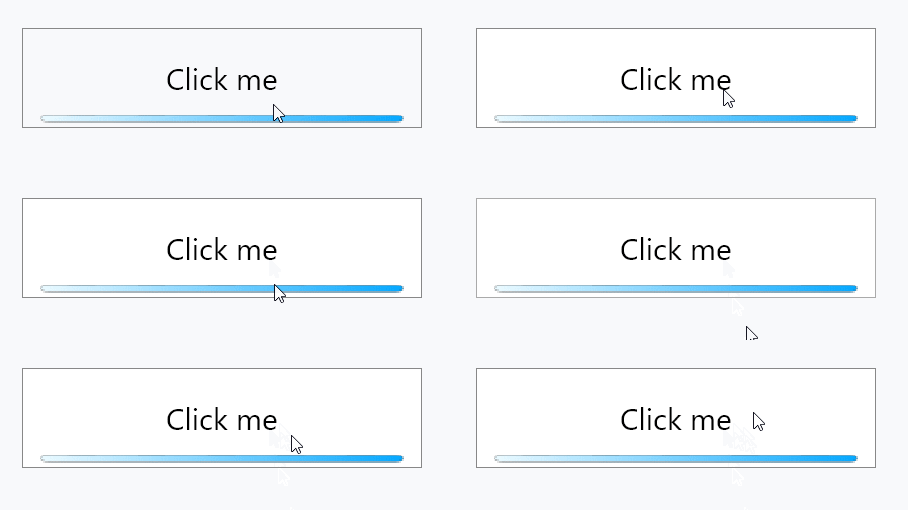
このようにすると以下のようになります。

枠部分が消えていないので、Styleで変更していきましょう。BorderThicknessの値がDefaultで0ではないので0にして、枠線を消します。
<Setter Property="BorderThickness" Value="0" />
Hover時の見た目を変更 見出しへのリンク
また、Hover時の見た目が変わらないと、Userにボタンだと気づいてもらえないと思うので、Hover時の見た目を記述しましょう。
<!-- Hoverした時の見た目 -->
<Style Selector="Button.ImageButton:pointerover">
	<!-- ボタンの背景として適用 -->
    <Setter Property="Background">
		<Setter.Value>
            <!-- avares://[プロジェクトの名前]/Assets/ファイル名 -->
			<ImageBrush Source="avares://AvaloniaTest/Assets/ButtonBar_Hover.png" />
		</Setter.Value>
	</Setter>
</Style>
CSSを使ったことのある人は[Classの名前]:[動作]で記述することに慣れていると思うので親しみやすいかと。
ただ、hoverではなくpointeroverであることに注意です!
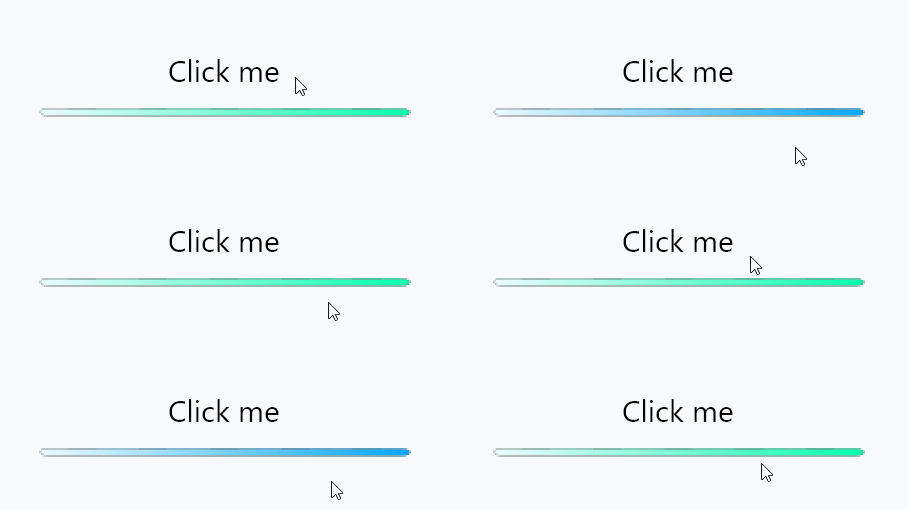
ここまでやるとこんな感じです。

Click時の見た目を変更 見出しへのリンク
ここからが、一番詰まりやすいポイントです。
単にButton.ImageButton:pressedとするだけで、画像が変わると思ったのですが、なんと
<!-- Click時の見た目 -->
<Style Selector="Button.ImageButton:pressed /template/ ContentPresenter">
    <!-- ボタンの背景として適用 -->
    <Setter Property="Background">
        <Setter.Value>
            <!-- avares://[プロジェクトの名前]/Assets/ファイル名 -->
            <ImageBrush Source="avares://AvaloniaTest/Assets/ButtonBar_Click.png" />
        </Setter.Value>
    </Setter>
</Style>
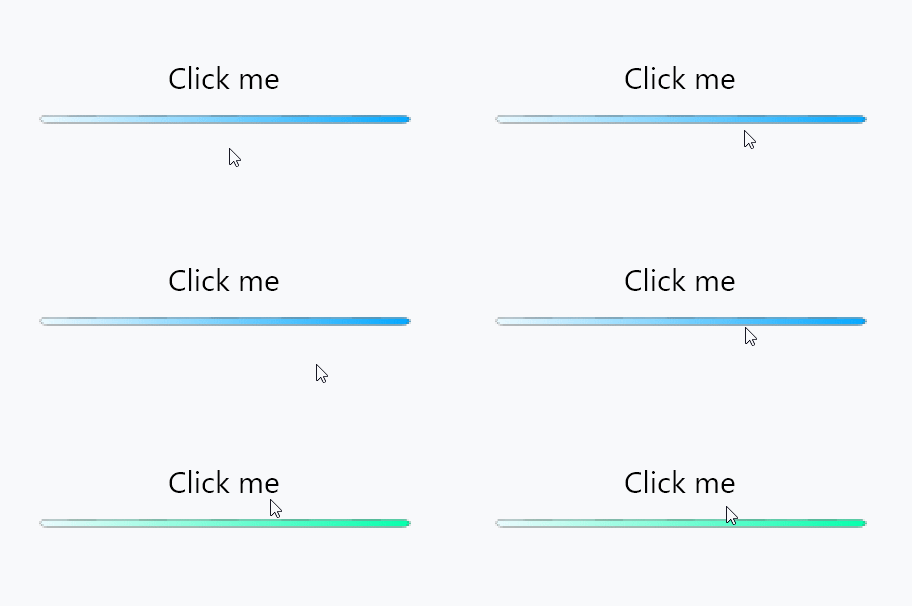
このようにButton.ImageButton:pressed /template/ ContentPresenterと記述しないと 動きません 。
Avalonia UIのGitterの履歴を漁ってこの方法にたどり着いたので、Avalonia UIのコミュニティの方に感謝です。
これで、画像を用いたボタンの作り方は完結です!

コード全文 見出しへのリンク
<UserControl xmlns="https://github.com/avaloniaui"
    	xmlns:x="http://schemas.microsoft.com/winfx/2006/xaml"
    	xmlns:d="http://schemas.microsoft.com/expression/blend/2008"
    	xmlns:mc="http://schemas.openxmlformats.org/markup-compatibility/2006"
    	mc:Ignorable="d" d:DesignWidth="800" d:DesignHeight="450"
    	x:Class="AvaloniaTest.Views.MainContents">
    <StackPanel>
        <StackPanel.Styles>
            <Style Selector="Button.ImageButton">
                <!-- 見やすいようにデザイン(お好みで変更してください) -->
                <Setter Property="FontSize" Value="30" />
                <Setter Property="Width" Value="400" />
                <Setter Property="Height" Value="100" />
                <Setter Property="BorderThickness" Value="0" />

                <!-- ボタンの背景として適用 -->
                <Setter Property="Background">
					<Setter.Value>
                        <!-- avares://[プロジェクトの名前]/Assets/ファイル名 -->
						<ImageBrush Source="avares://AvaloniaTest/Assets/ButtonBar.png" />
					</Setter.Value>
				</Setter>
            </Style>
            <!-- Hoverした時の見た目 -->
            <Style Selector="Button.ImageButton:pointerover">
                <!-- ボタンの背景として適用 -->
                <Setter Property="Background">
                    <Setter.Value>
                        <!-- avares://[プロジェクトの名前]/Assets/ファイル名 -->
                        <ImageBrush Source="avares://AvaloniaTest/Assets/ButtonBar_Hover.png" />
                    </Setter.Value>
                </Setter>
            </Style>
            <!-- Click時の見た目 -->
            <Style Selector="Button.ImageButton:pressed /template/ ContentPresenter">
                <!-- ボタンの背景として適用 -->
                <Setter Property="Background">
                    <Setter.Value>
                        <!-- avares://[プロジェクトの名前]/Assets/ファイル名 -->
                        <ImageBrush Source="avares://AvaloniaTest/Assets/ButtonBar_Click.png" />
                    </Setter.Value>
                </Setter>
            </Style>
        </StackPanel.Styles>
        <Button Classes="ImageButton">Click me</Button>
    </StackPanel>
</UserControl>
おわりに 見出しへのリンク
いかがだったでしょうか。Avalonia UIに関する資料は、日本語のものどころか英語のものも、とても少ないので
こういう知りたい情報が手に入りにくいです…
互いに情報共有してAvalonia UIに詳しくなっていきたいです。
もっと、エレガントな方法を知っているよ、という方は是非コメントで教えて下さい!